Showing posts with label birthday. Show all posts

Friday, July 15, 2022

Mickey Meringues


Mickey Meringues

Written by: Christine | July 15, 2022


We have been wanting to make these for a while! They are so crispy and light and our little ones especially loved them. We could see these becoming a holiday staple (think purple and orange for Halloween!). Most of the time in this recipe is spent idle, whipping and cooling. It can get messy to have the kids help but my 3 year old had a blast and his Mickey's came out great! Give it a try and let us know what you think! 

Ingredients:

·         8 egg whites

·         1 tsp. cream of tartar

·         2 C. sugar

·         2 tsp vanilla extract (or lemon, almond, coconut etc.)

·         Food coloring


(makes 60 2 ½ inch meringues) *feel free to half this recipe for a smaller batch

Directions:

1.      Print our template for the perfect sized Mickey Meringues! 

2.      Preheat oven to 225˚F

3.      Line your sheet pans with parchment -underneath the parchment you will place the template to use when piping.

4.      Whip egg whites in the bowl of a stand mixer until foamy

5.      Add cream of tarter, whip for a minute

6.      Add one TBSP of sugar at a time waiting for it to incorporate an start to dissolve before adding next TBSP. Be patient this process may take 10-15 minutes until you have added all the sugar.

7.      Add the extract and whip for 15-20 seconds more.

8.      You should have firm peaks. Lift the beater from the bowl, does the peak stand on its own? Is it glossy and thick? You are ready to pipe!

9.      Drip a couple colors of food coloring into a pastry bag fitted with a Large Star tip. (tip: stand your pastry bag in a drinking glass to make it easier to fill). If you are using get food coloring, use a small paint brush (tip: or even a chop stick) to streak the coloring.

10   Check out our reel to see how we piped ours. Try different techniques, they will all be adorable! (tip: dab a small amount of meringue on two corners of the parchment to stick to the pan so it does not move around while you are piping)

1


11   Bake for 45 minutes and then turn the oven off and let the meringues cool in the oven.

12  When they are cool, peel from the paper and the sky is the limit…they are so tasty and light on their own, but you can fill two meringues like a sandwich with a buttercream or pop the meringues on a stick for a Mickey pop! Try adding sprinkles before you bake! Get creative!




Wednesday, June 29, 2022

Minnie Mouse Birthday Party!


Minnie Mouse Birthday Party

Written by: Christina | June 29, 2022


This past weekend we celebrated my daughter's 1st birthday!! She is OBSESSED with Minnie Mouse so it was an obvious choice for the theme.  I wanted to make it a little different so instead of the normal pink and black color scheme I went with all pastel colors.  Some of the things I created require a Cricut or other cutting machine but I'be included any links that might be helpful for planning your party!


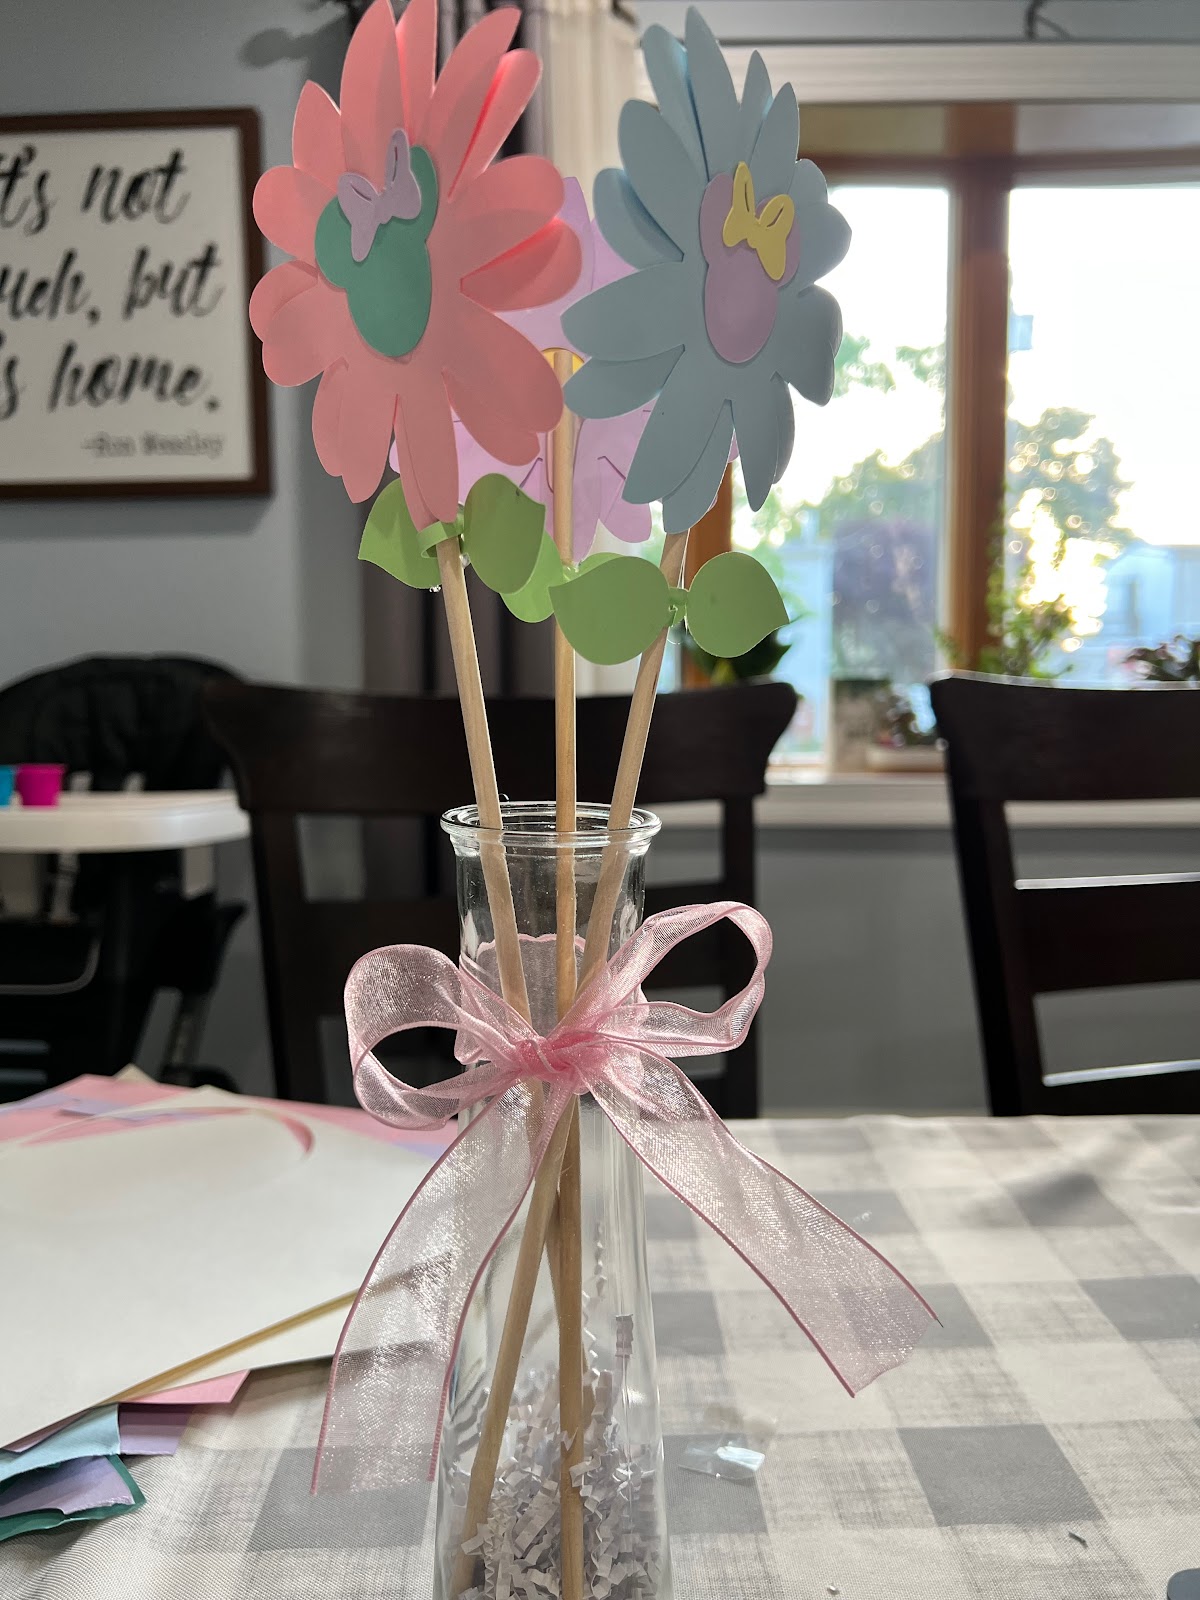
Center Pieces:  Minnie flowers

These were such a small detail but I love how they came out! I used Cricut design space to create them and Cricut to cut them.  Then used dowels and a Dollar Tree vase!


Banners:

1. Month Banner: 

Ordered my photos and designed the banner on Cricut


2. Happy Birthday Banner: 

Designed and cut on the Cricut


3. Highchair Banner

I of course didn't get a photo of her in her highchair with this banner but I loved it! Designed and cut on the Cricut.


Dessert Table: 

The dessert table came together so well.  The balloon arch I made myself using a kit from Amazon.  The cake stands and cupcake holders are from Party City.  We made the cupcakes ourselves using melting chocolates for the ears.  


Balloon Garlands (and Minnie cut out): 

We made the balloon garland using the kit from Amazon and the cut out is from Party City.


Goody Bags: 

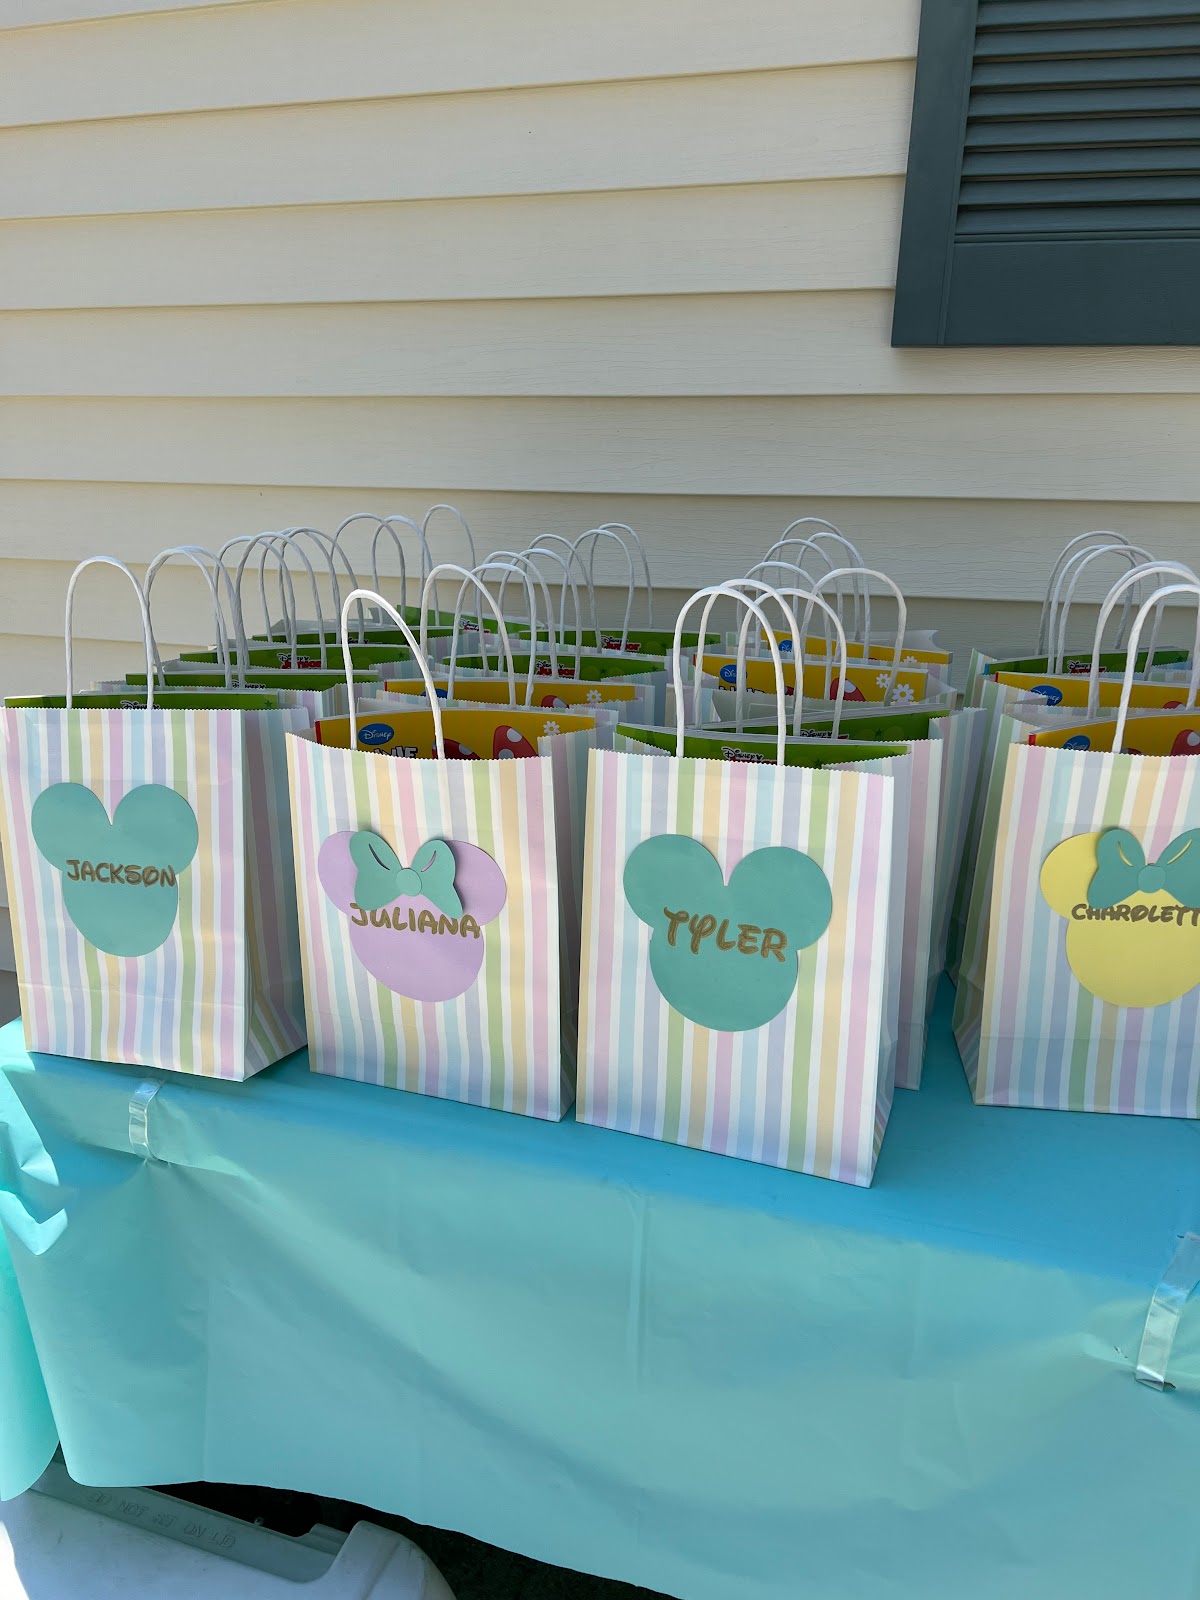
Bags from Amazon.  Mickey and Minnie cut out and names were done on the Cricut.  They were filled with Mickey and Minnie ears, coloring books, stickers, Disney crazy straws and more. 

Disney Stickers


Coloring Page: 

This was a hit! The kids kept stopping by to color it throughout the day.  


Pom Pom Mickey Garland: 

I saw these pastel Pom Poms at Michaels and knew I had to do something with them I just loved the colors so much.  So  I hot glued some Mickeys together and used a large needle and some thin twine to string them and make little garlands that I used around the house for decorations.


Friday, April 29, 2022

Lilo & Stitch Birthday Party

Written by Christine | April 18, 2022


This was the theme for a One year old's birthday party but would work for any age.  The guest of honor loved everything Lilo & Stitch so this party had it all; aliens, surfboards, monstera leaves, an Elvis cake, a killer playlist and even a hula dancer! We found an awesome surf themed taco bar in our neighborhood and created the sweetest party for our Ohana. If you are having a party for the Lilo & Stitch lover in your life check out some of the fun projects that brought this theme to life!


Ohana Photo Board (how-to)
  • Expandable greenery fence, such as this.
  • 50-60 4x4 photos (We edited ours using a cartoon and vintage effect on a photo editing app and then had them printed at target)
  • 25 sheets of white craft paper
  • Paper cutter with ruler
  • glue dots
  • Bag of mini clothes line pins
  • Ohana sign
  1. Select your photos and edit using the cartoon effect (insta toon and many other apps have a cartoon filter). Save your photos and have them for printed 4x4. 
  2. Cut the white crat paper into 5x6 rectangles. 
  3. Attach the photos using glue dots to the white rectangles
  4. Write the people, event, and/place in the pictures (we told people to take whatever pictures they wanted at the end of the party and they were a nice keepsake)
  5. Attach central Ohana sign with clothes pins
  6. Use the clothespins to attach your new polaroids to the greenery fence once its expanded and in the place you plan on displaying it. This would work hanging from fishing wire, or propped up a wall. 


All signs were created using the Cricut Explore 2 and a Lilo and Stitch font found on DaFont.com.


Irish Soda Bread Mickeys

  Mickey Irish Soda Bread Written by: Christine | March 2, 2023 Ingredients: 4 1/2-4 3/4 C. AP flour (plus more for rolling out) 1 tsp. baki...