Showing posts with label minnie. Show all posts

Thursday, July 21, 2022

Dole Whip Pops

Dole Whip Pops

Written by: Christine | July 21, 2022


We made these for National Dole Whip day but we won't wait another year to make them again!  So simple, so delicious! 

Can we all agree that Dole Whip is the Queen of all Disney snack?!? Okay, good...
After we made our pops (link for the molds) we put them in coup glasses and poured prosecco over them to toast to the Queen! Give it a whirl and let us know what you think!

Ingredients:

2 C. pineapple chunks (fresh or canned)
1/2 a pint of Vanilla Ice Cream
1 tsp. vanilla extract
Juice of 1/2 a lime
1/4 tsp. salt
1 1/2 C. pineapple juice

Directions:

Blend all the ingredients in a blender. Taste for your preferred blend, if you like it creamier add more ice cream or fruiter add more juice! Don't skip the salt and lime; they make the other flavors sing!

*Pro tip: try them with a prosecco pour over! If the kids get jealous you can pour over sparkling water or pineapple seltzer!


Tuesday, July 19, 2022

Mickey and Minnie Honey Cornbread Muffins

 Mickey and Minnie Honey Cornbread Muffins

Written by: Christine | July 18, 2022


What better way to use William Sonoma's Mickey and Minnie Mouse Cast Aluminum Cakelet Pan than Honey Cornbread Muffins?!? These are soft, sweet and salty with the addition of bacon. They are absolutely delicious along side chili or any of your favorite BBQ dishes or on their own with a little butter. 

Ingredients:
  • 1 C. corn meal
  • 1 C. flour
  • 1/4 tsp. nutmeg
  • 1/2 cup sugar
  • 1/2 tsp. baking soda
  • 1 t. salt
  • 1 C buttermilk
  • 1/2 C unsalted butter (melted)
  • 2 eggs
  • 1/4 C. honey 
Directions:
  • Preheat the oven to 375 degrees. 
  • Spray the pan and a 12 cup muffin tin with baking spray (oil/butter and flour)
  • Stir corn meal, flour, baking soda, sugar, nutmeg and salt in a large bowl. *to make these more savory you can reduce the sugar to 1/3 and change the nutmeg out for paprika or chili powder
  • In a medium bowl beat the buttermilk, butter, eggs and honey with a whisk
  • Make a well in the dry ingrediants, pour the wet ingrediants in and stir until combined with a wooden spoon. Don't over mix, a few small lumps is okay. *you can add 1/3 cup of scallons, cheese or bacon at this point. We used bacon.
  • Fill you the cups 3/4 full 
  • Bake for about 12 minutes, be careful not to overbake
  • Let them cool a few minutes before you turn them out. 
  • Drizzle with honey, butter, scatter with bacon, whatever you'd like- to your hearts content!


Wednesday, June 29, 2022

Minnie Mouse Birthday Party!


Minnie Mouse Birthday Party

Written by: Christina | June 29, 2022


This past weekend we celebrated my daughter's 1st birthday!! She is OBSESSED with Minnie Mouse so it was an obvious choice for the theme.  I wanted to make it a little different so instead of the normal pink and black color scheme I went with all pastel colors.  Some of the things I created require a Cricut or other cutting machine but I'be included any links that might be helpful for planning your party!


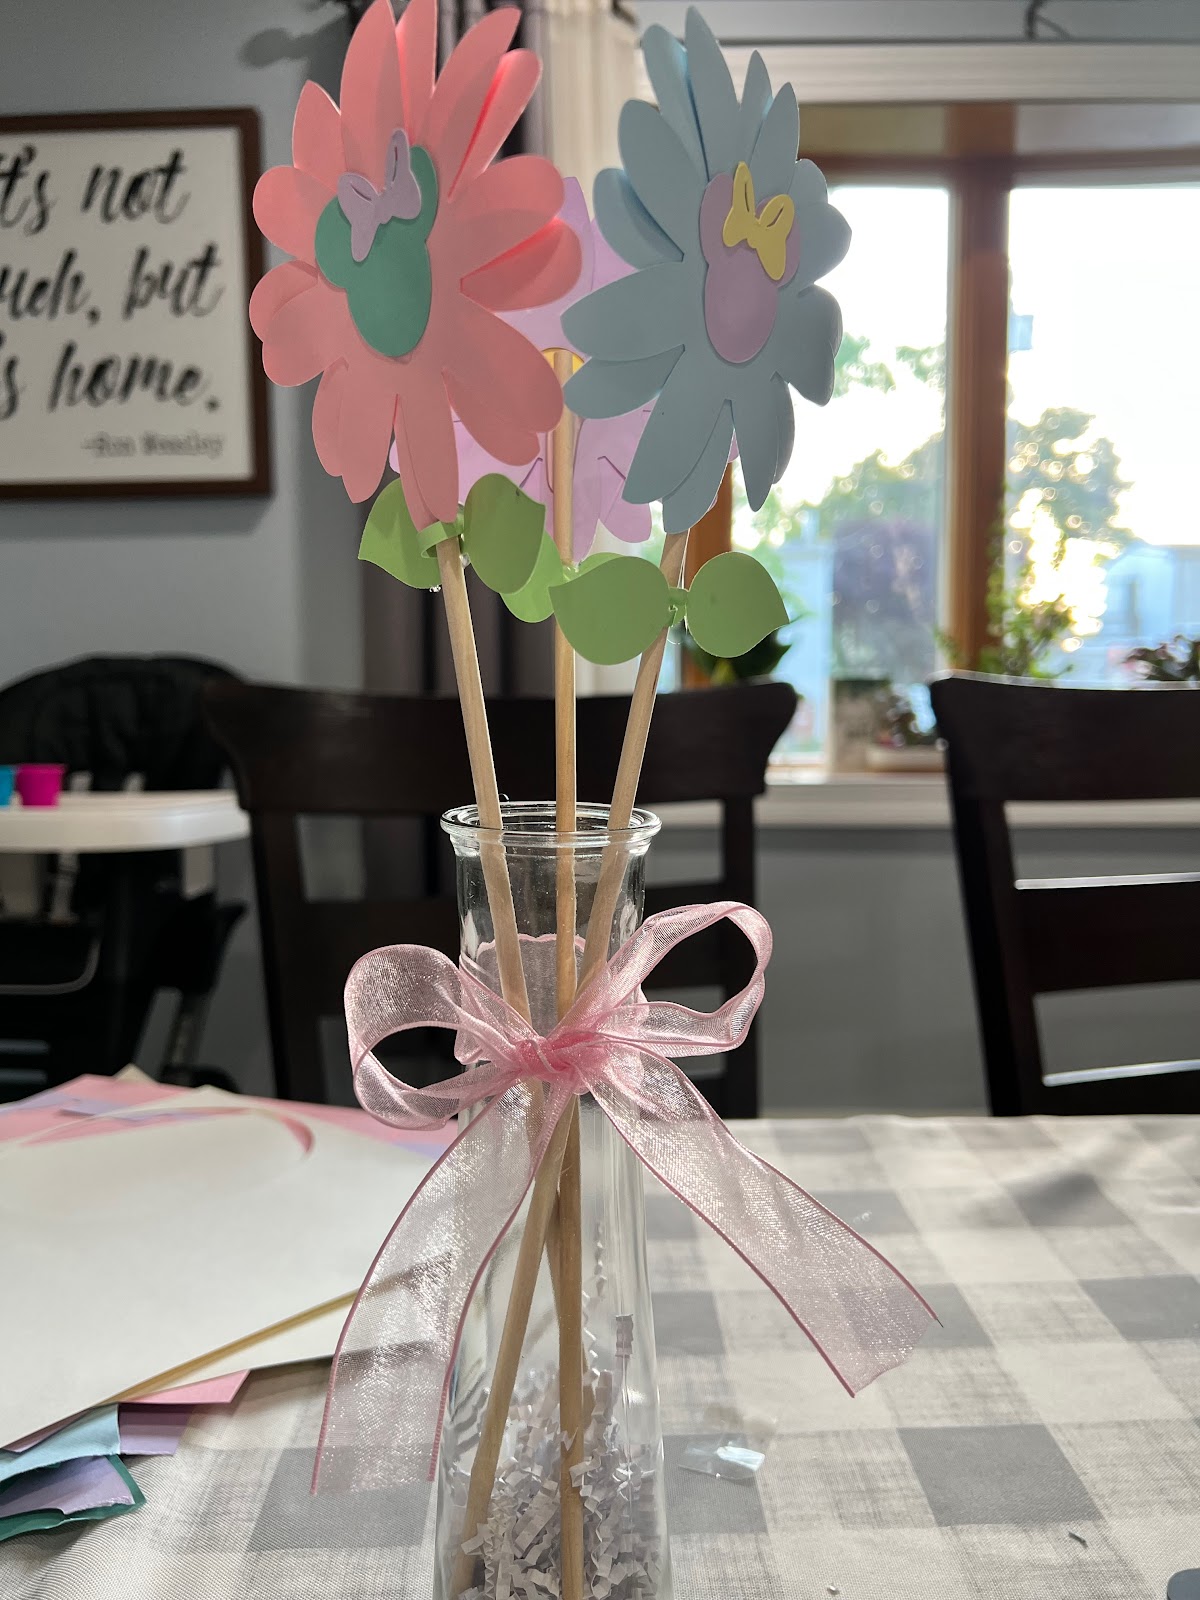
Center Pieces:  Minnie flowers

These were such a small detail but I love how they came out! I used Cricut design space to create them and Cricut to cut them.  Then used dowels and a Dollar Tree vase!


Banners:

1. Month Banner: 

Ordered my photos and designed the banner on Cricut


2. Happy Birthday Banner: 

Designed and cut on the Cricut


3. Highchair Banner

I of course didn't get a photo of her in her highchair with this banner but I loved it! Designed and cut on the Cricut.


Dessert Table: 

The dessert table came together so well.  The balloon arch I made myself using a kit from Amazon.  The cake stands and cupcake holders are from Party City.  We made the cupcakes ourselves using melting chocolates for the ears.  


Balloon Garlands (and Minnie cut out): 

We made the balloon garland using the kit from Amazon and the cut out is from Party City.


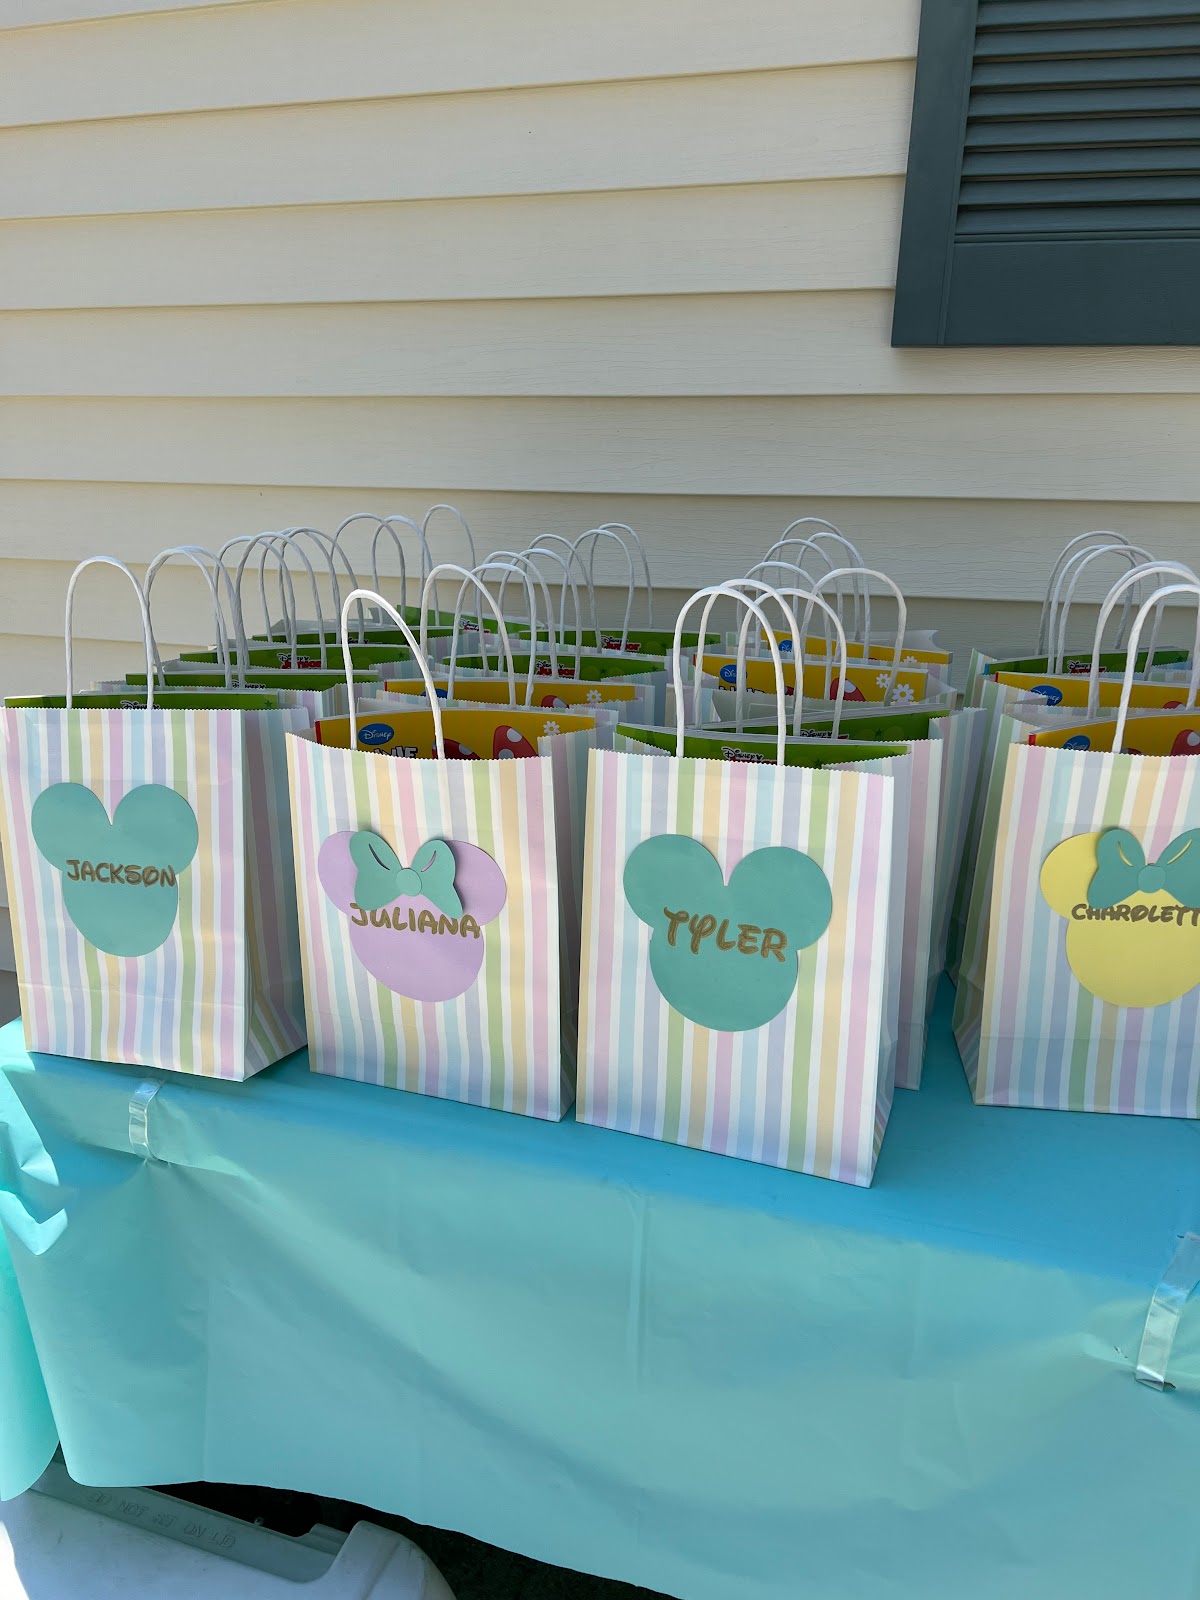
Goody Bags: 

Bags from Amazon.  Mickey and Minnie cut out and names were done on the Cricut.  They were filled with Mickey and Minnie ears, coloring books, stickers, Disney crazy straws and more. 

Disney Stickers


Coloring Page: 

This was a hit! The kids kept stopping by to color it throughout the day.  


Pom Pom Mickey Garland: 

I saw these pastel Pom Poms at Michaels and knew I had to do something with them I just loved the colors so much.  So  I hot glued some Mickeys together and used a large needle and some thin twine to string them and make little garlands that I used around the house for decorations.


Monday, May 2, 2022

DIY Rapunzel Ears


DIY Rapunzel Ears

Written by: Christina | May 2, 2022


How fun are these ears?! I love something that you can wear to the parks that starts off adorable for day time then lights up for nighttime fun! Best part DIYing your Minnie Ears is choosing your own headband! I have so many ears that I purchased from Disney, of course I still wear them, but they bother my head. Making my own meant I got to test out the headband first! 

Anyway, yes my ears have a Rapunzel vibe when it comes to the color but these ears can be made into any color combo or style you'd like.  Tropical flowers for Poly vibe, black and deep purple flowers for a Haunted Mansion look, the combos are endless!


What you need:


Hot glue gun and glue sticks
14 gauge gold wire
Wire cutters
Fairy lights (battery operated) I used multicolored but there are tons of options
Faux flowers


Directions: 

1. Find something round that is approximately the size you want your ears to be.  For me this large 40 oz water bottle I have was perfect.  Take your wire and measure out your circles.  Leave a little extra wire on each.


2. Take the ends of each wire circle and bend them outward.  I used my wire cutter for this but pliers would work too.
 

3.  Hot glue the ears in place.  Hold them until the glue dries or balance them on something so they stay in place (this is the trickiest part).


4.  Glue the battery pack in the middle of the ears.  Take the fairy lights and wrap them around the ears.  I found it easier to do with the lights on.  I wanted to make sure I had equal lights on each ear and they're easier to count when the are on. 


5.  Glue the flowers wherever you would like.  Obviously do your best to cover the battery pack.  I included flowers on the front and back.  


Wednesday, April 13, 2022

Disney Easter Egg Freebie!

Disney Easter Egg Freebie!

Written by: Christina | April 13, 2022


These are the cutest little Easter egg holders to add some Disney magic to this holiday.  Include Mickey and Minnie at your Easter dinner table! After you have dyed your eggs this is a great way to display them.  You can put them out as decor or you can use them as place cards for your guests! This is a great project to do with your kids, they can use the blank Mickeys and Minnies and use crayons, markers, paint, glitter whatever they'd like to decorate. 

What you need:

1. Our Disney From Jafar Easter Egg Freebie!

2. White cardstock or paper 

3. A printer

4. Scissors

5. Glue or tape

Directions:

1. Print the Disney From Jafar Easter Egg Freebie!

2. Cut out as many of the egg holders as you need

3. Cut our your favorite Mickey or Minnie.  Try the blank ones to decorate however you'd like!

4. Loop the egg holder and glue, staple, or tape it in place where the DFJ logo is found (you can make this as tight or as loose as you need depending on the size of your Easter eggs.

5.  Tape or glue your Mickey or Minnie to the front of the egg holder.  


Tuesday, April 12, 2022

Simple Minnie Cupcakes

Simple Minnie Cupcakes

Written by: Christina | April 12, 2022     


These are the easiest way to add a magical touch to your dessert.  We decided to have a little last minute family get together for my daughter's 1st birthday.  The bakery near by was totally booked and I was at a loss for how to make her day special.  My mom actually came up with the plan to create our own Minnie Mouse cupcakes.  As non professional cake decorators it had to be something easy.  I think these cupcakes turned out absolutely adorable! These would be a great addition to a Minnie or Mickey dessert table. 

What you need:

1. Make your favorite cupcakes

2. Frosting

3. Food coloring

4.  Mini oreos

5. Piping bag

6. Sprinkles


Instructions:

1. Bake cupcakes 

2. Use food coloring to make your frosting whatever color you'd like

3. Put frosting into a piping bag and frost your cupcakes

4. Separate the mini Oreos and scrape out the filling.  I used a small paring knife for this

5.  Stick two Oreos into each cupcake

6. Add sprinkles if you'd like
https://drive.google.com/uc?export=view&id=18AVnyDVtaSkLNiO44hh7HYdi1MLaD7Dvhttps://drive.google.com/uc?export=view&id=1oibeTjqRH-LUirnFcBFrLkhaHNbLGSHG

So simple, yet so cute!


https://drive.google.com/uc?export=view&id=1phdLGz-xuuFCNg7fmy1l4glcrXV8Swt0https://drive.google.com/uc?export=view&id=1ODFWWn9xXNj5TEsOU4TUnlwCw4xhYdFh

Irish Soda Bread Mickeys

  Mickey Irish Soda Bread Written by: Christine | March 2, 2023 Ingredients: 4 1/2-4 3/4 C. AP flour (plus more for rolling out) 1 tsp. baki...